DIY Photo Booth: Everything You Need to Set One Up

Why Opt for a DIY Photo Booth?
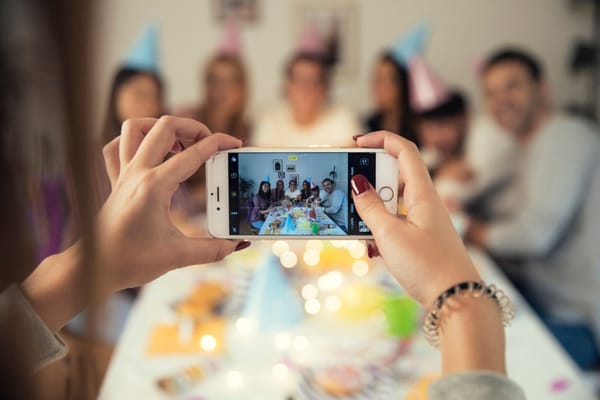
When planning an event, from weddings to birthday parties, creating memorable experiences is often a top priority. A DIY photo booth offers a fun way for guests to interact and capture those moments without relying on professional photographers. Plus, it can be a budget-friendly alternative. But what exactly do you need to set one up?
Essential Equipment for Your DIY Photo Booth
Getting your DIY photo booth right requires a few key pieces of equipment. Here’s what you’ll typically need:
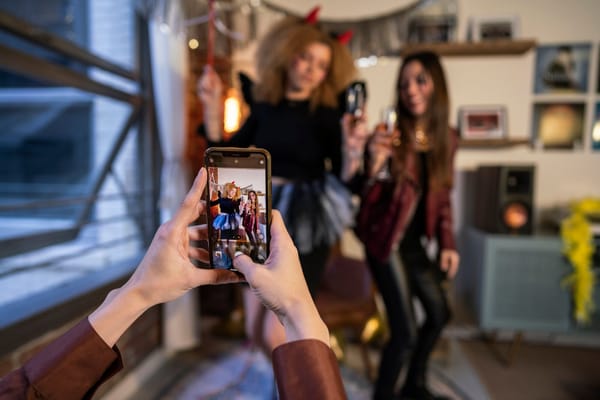
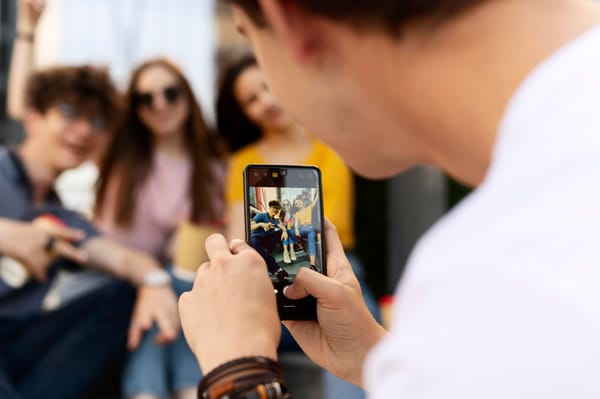
- Camera: A DSLR camera is ideal for high-quality photos, but a good smartphone with a decent camera can also do the trick.
- Tripod: Ensure steady shots by using a sturdy tripod. Adjustable height options offer more flexibility.
- Lighting: Good lighting is crucial. Consider using a ring light or softbox for even, flattering light.
- Backdrop: A plain wall, fabric, or decorative paper can serve as an excellent backdrop. Choose something that fits your theme.
- Props: Fun props like hats, glasses, and signs add an extra layer of entertainment for your guests.
Common Mistake: Overlooking the Space
One frequent oversight is neglecting to plan the space properly. A cramped or poorly lit area can make guests hesitant to use the booth, no matter how great your camera is. Make sure your booth is spacious enough to accommodate groups and has ample natural or artificial light.
Setting Up Your DIY Photo Booth
Choosing the Location
Pick a spot that's visible and accessible but not in the way of other event activities. Near the entrance or close to the dance floor often works well.
Testing the Setup
Before the event, do a test run. Check that your camera settings are right, the lighting is flattering, and that everything is working as it should. Adjust the backdrop or props if necessary.
Engaging Your Guests
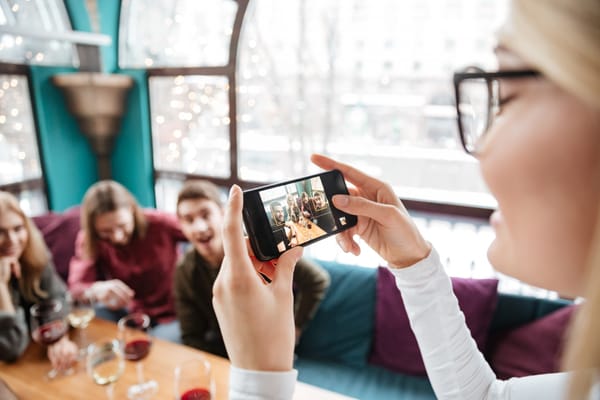
Even with the perfect setup, guests need a nudge to participate. Place clear instructions on how to use the booth and maybe designate a ‘booth buddy’ from your event staff or a friend to encourage others to join in. Sometimes a little push is all it takes.
After the Event: Preserving the Memories
Once your event has wrapped up, you'll want to ensure those captured memories are preserved. Transfer photos onto a cloud service or external drive. If you used a smartphone, apps or tools that sync with Google Photos can simplify this process.
An Easier Alternative: JoinMyMoment
Feeling overwhelmed by the setup and coordination? JoinMyMoment can simplify everything. It offers a browser-based solution where guests can capture and upload photos and videos right from their phones, no app download needed. With QR code access and host-controlled privacy settings, it’s a seamless way to ensure no memory is missed without the hassle of DIY logistics.